
Do you know, How to install Internet Explorer on Windows 10 by PowerShell? It’s very easy to install internet explorer on your Windows operating system. If your internet explorer not opens in your device or turn off, you need to open again turn on IE. This article shows how to uninstall/install IE in your Windows 10. Let’s see –
How to install Internet Explorer on Windows 10 –
Step-1: At first, you need to click on Windows Start Button and search the term (PowerShell).
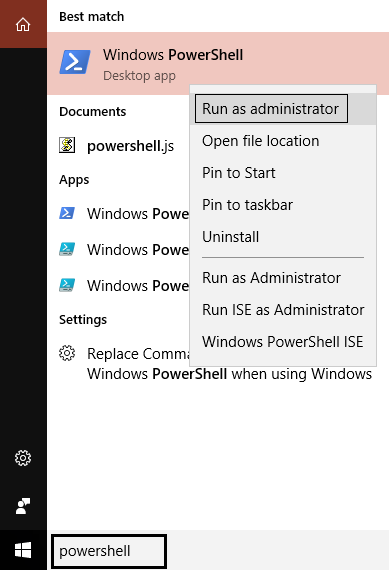
Step-2: After opening the PowerShell application, then right-click on the open it as “Run as Administrator” mode.
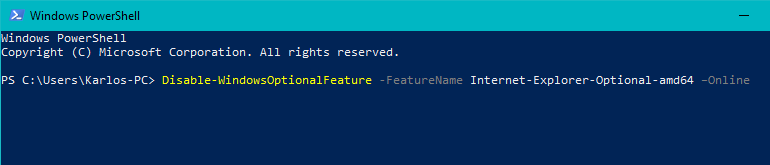
Step-3: Then type the following command below –
To Install Internet Explorer:
Enable-WindowsOptionalFeature –FeatureName "Internet-Explorer-Optional-amd64" -All –Online
To Uninstall Internet Explorer:
Disable-WindowsOptionalFeature –FeatureName "Internet-Explorer-Optional-amd64" -Online
Step-4: Once you did to type above command for install or uninstall and hit Enter. It will want to restart your system and you need to type “Y” to press Enter.
Step-5: After successfully changes to Windows reboot apply.
Also, Like – How to Check Performance Monitor in Windows by Command Prompt