
How to Enable System Restore in Windows 10 – Step by Step. You can easily create a system restore point in Windows 10 without a problem. System restore helps to damage your files or any wrong is going in your system device. System restores the backup to restore your all valuable work if you change anything or have face any wrong work in your windows and that restores point easily retrieves your all changes easily without damaging files. Normally system restore feature is working on your changes in drivers, applications, system settings, registry, files and it’s saving the working via a restore point. How to Disable Proxy Settings in Windows 10 – Step by Step

How to Enable System Restore in Windows 10
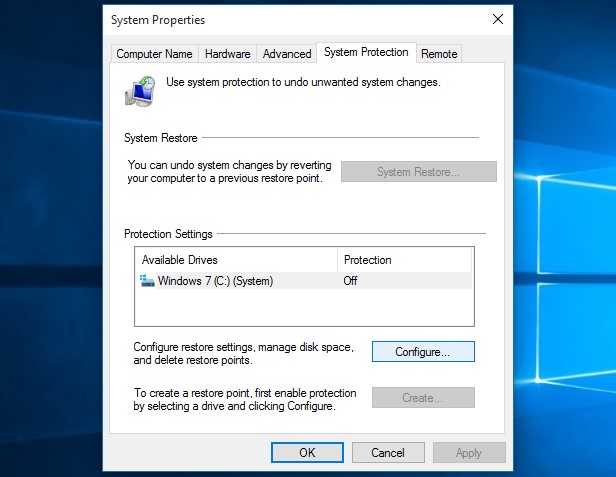
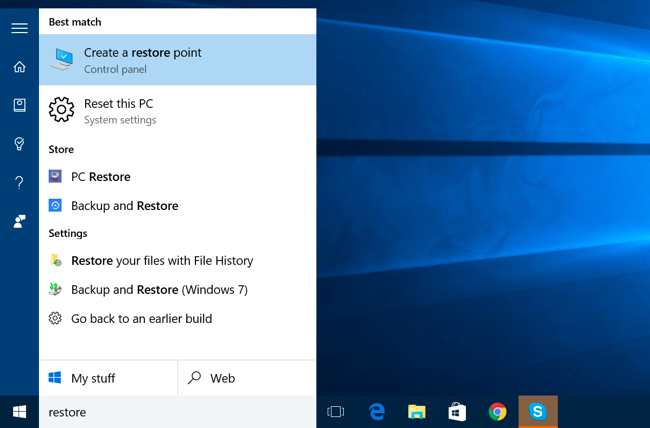
At first, you need to find out the system restore options in your windows 10 from the search tab. Then go to Options >> Now need to open create a restore point from the results >> then go to entering system restore. Then go to system properties functions >> choose the system protection and click on the Configure button. How to View Hidden Devices in Windows 8.1 and 10
Under the restore settings and choose Turn on System protection. It will help to undo any undesired changes and it will move back to a point before the issue.
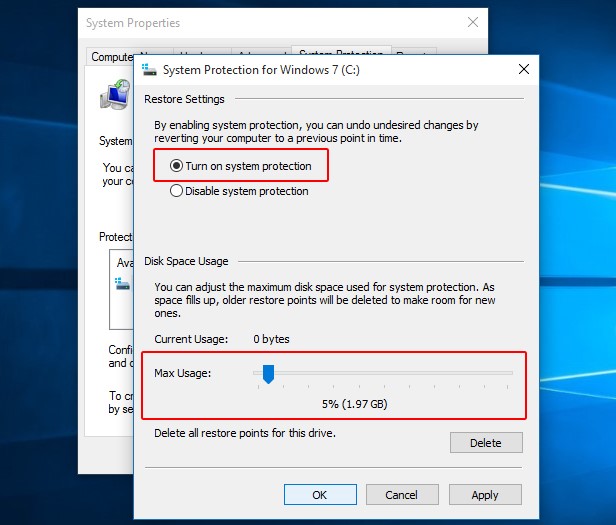
Now you need to select to space on the hard drive you want to use for storing the restore points by sliding bar. Then click on the OK button.
Now Windows 10 can create the restore point automatically and you can also create a restore point manually before you want to make changes in the system setting.
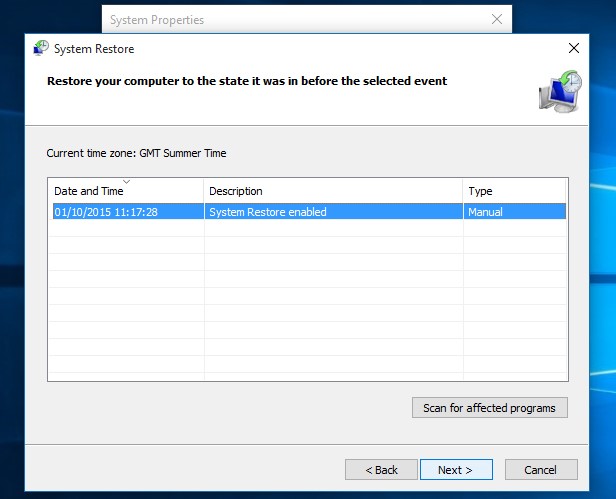
When you proceed to the restore point level and you need to click on Scan for Affected Programs feature for help to know about the changes in the PC before using the restore point. Finally, click on the Next option to proceed. How to Install Graphics Tools in Windows 10