
Dod you Know, How to Change Account on Windows 10 – Username? All Windows OS user clear about Windows troubleshooter. Usually, Windows 10 need an account that confirms your identity. Different purposes we need to change account username on Windows 10. Various way to change your Windows 10 account username. Let’s see –
How to Change Account on Windows 10 Username Via User Account Manager –
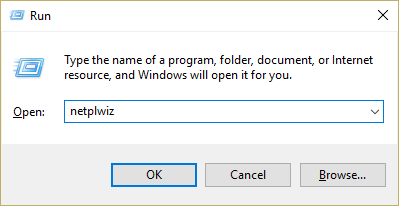
Step-1: At first, you need to press the Windows Key + R button. When opening the Run option, then type netplwiz and hit the enter button to open user accounts.
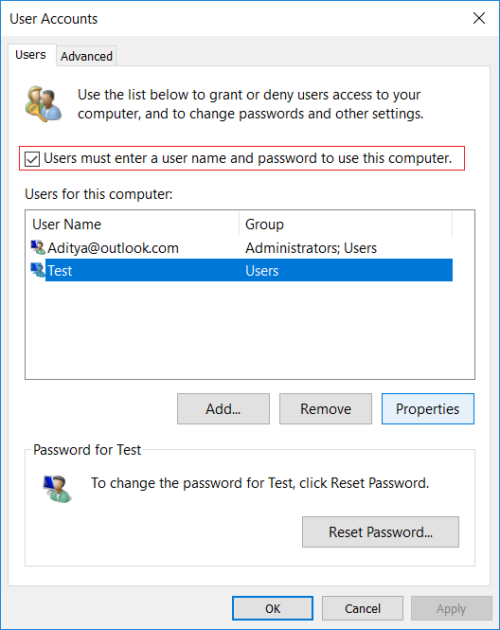
Step-2: Now you need to sure the checkmark (Users must enter a username and password to use this computer) box.
Step-3: Now you need to select the local account, that you need to change the username and just click on properties.
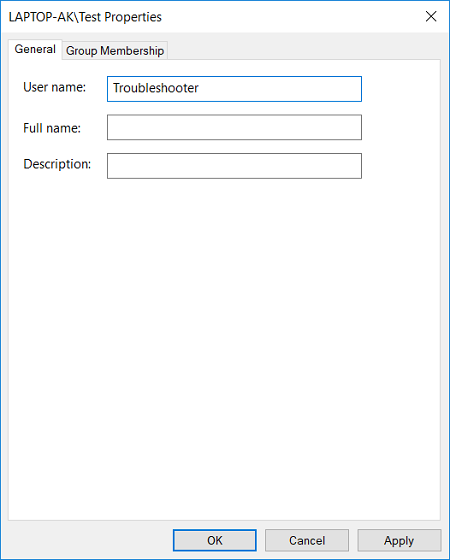
Step-4: Select the general tab, now type your full name of the user account.
Step-5: Then click on the Apply button followed by ok.
Step-6: Need to reboot your PC and make save changes. You have successfully change account username on Windows 10.
Check Out Other –
How to Add Network Printer in Windows 10
How To Delete Temp Files Using Command Prompt