
Do you know, how to enable remote desktop in Windows 10 many ways? Remote Desktop Protocol (RDP) system is a feature that allows you to access easily manage a computer or server without being present at the location. Normally this system is disabled by default and if you want to use it. At first, you need to enable it. It’s the first RDP system, introduced in Windows XP pro version. Difference way to enable Remote Desktop on your device using from the setting system, control panel, by command line and other ways. Let’s see – How to Remove the Unnecessary Files Using CMD

How to Enable Remote Desktop Using Control Panel –
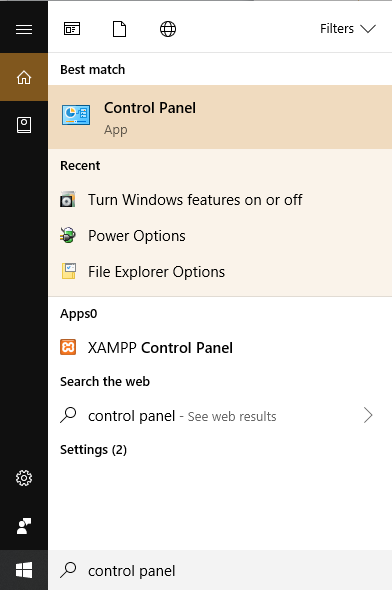
Step-1: At first, you need to type control in the Windows search bar. You will see the search results on Control Panel, then click on it.
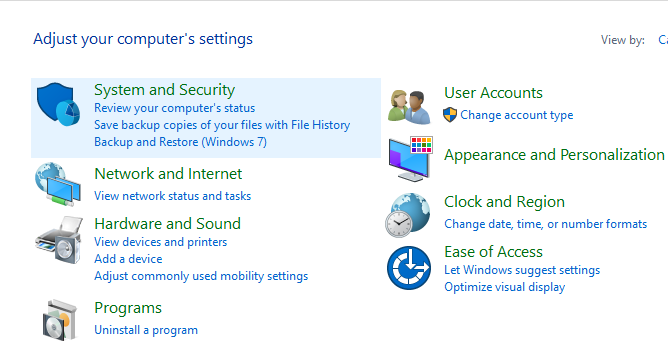
Step-2: After opening the main section and click on system and security under the control panel.
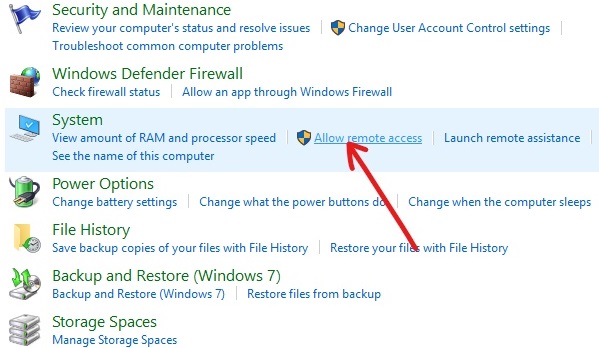
Step-3: Now, go to the System section and click on (Allow Remote Access) link into the under system heading.
Step-4: Then, go to click on the under Remote Desktop Section (checkmark) and “Allow remote connections to this computer”.

Step-5: Now click on the apply button and finally click the OK button.
After you have done the complete these steps, normally you can use the Remote Desktop connection one computer to connect another client device remotely.
Others Article:
How to Change Password on Windows 10 Command Prompt