
How to Set Auto Shutdown in Windows 10 by Command Prompt? There are many reasons we need to turn off our PC lately, suppose if you are downloading a large file or installing a program long time. But you have no time to wait for this installing. Even you also forget to shut down your PC. At this moment you need to know the schedule Automatic Shutdown system. It saves your time and your PC going to automatic shut down without any error. You can use the command prompt system and it will help you to automatically turn off your PC.
Let’s see –
How to Set Auto Shutdown in Windows 10 by Command Prompt:
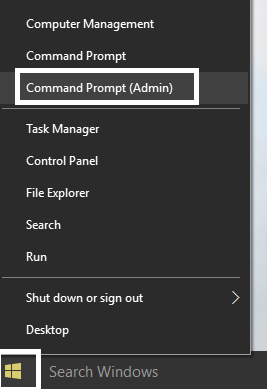
Step-1: You need to open the Windows PowerShell or Command Prompt system with admin access on your device.
Then press the Windows Key+X to select the Command Prompt (Admin).
How to Run Command Prompt as an Administrator
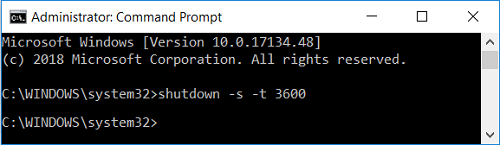
Step-2: Now, you need to type the below command into CMD and just hit the Enter button.
shutdown -s -t TimeInSeconds
Using by Command Prompt-
Using by PowerShell-
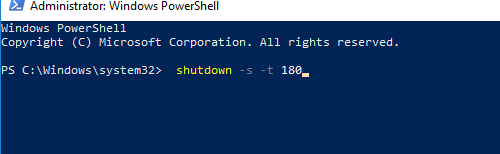
Important Note Needed to Know: How to set your exact time by minutes. Suppose if you want your PC shut down after 3 minutes, you set it (3*60 = 180 Seconds). You will need to type the following command: shutdown -s -t 180. You need to replace TimeInSecond with the seconds.
More Article –
How to Schedule Automatic Shutdown – Restart